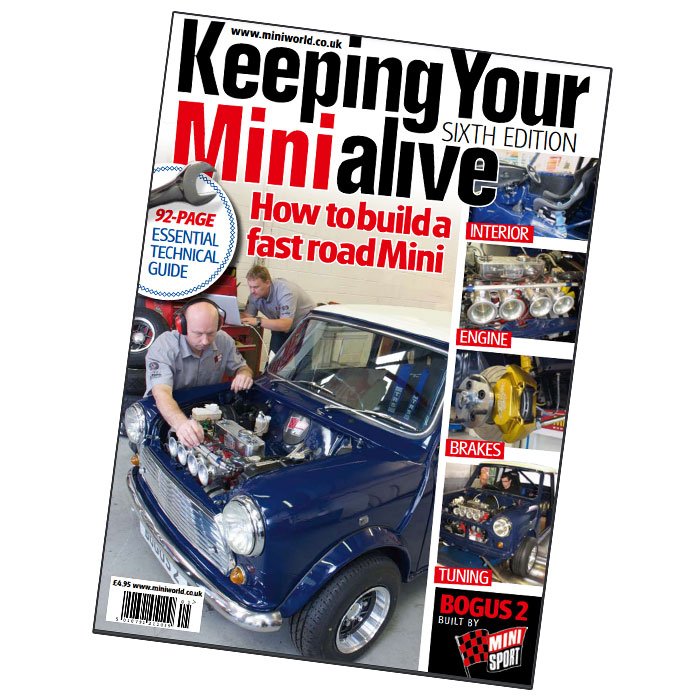
With the shell stripped bare in Part 2, we are now ready to tackle the inevitable: rust and hidden repairs. Our team of experts is equipped with the knowledge and tools to bring your Mini back to its former glory.
Rust & Panel Repairs: Bogus 2 Build

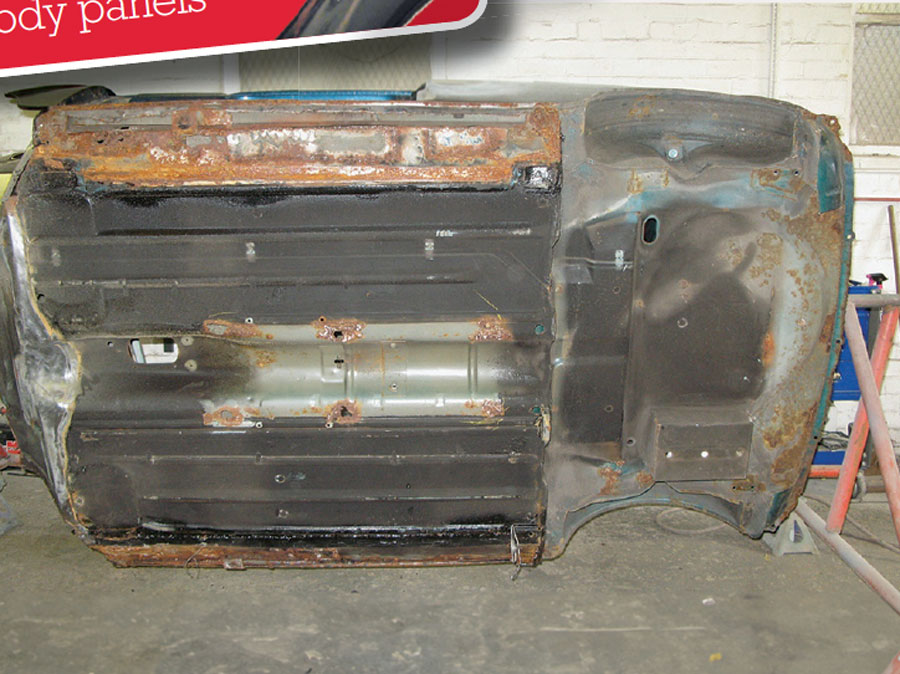
The Rotisserie:
With the shell stripped clean, it gets secured on a rotating frame, also known as a spit or rotisserie. This ingenious tool is a game-changer for classic Mini repairs:
- Maintaining Shape: The rotisserie helps the shell retain its original shape during repairs.
- Easy Access: Effortlessly reach every part of the shell for repairs from a comfortable standing position.
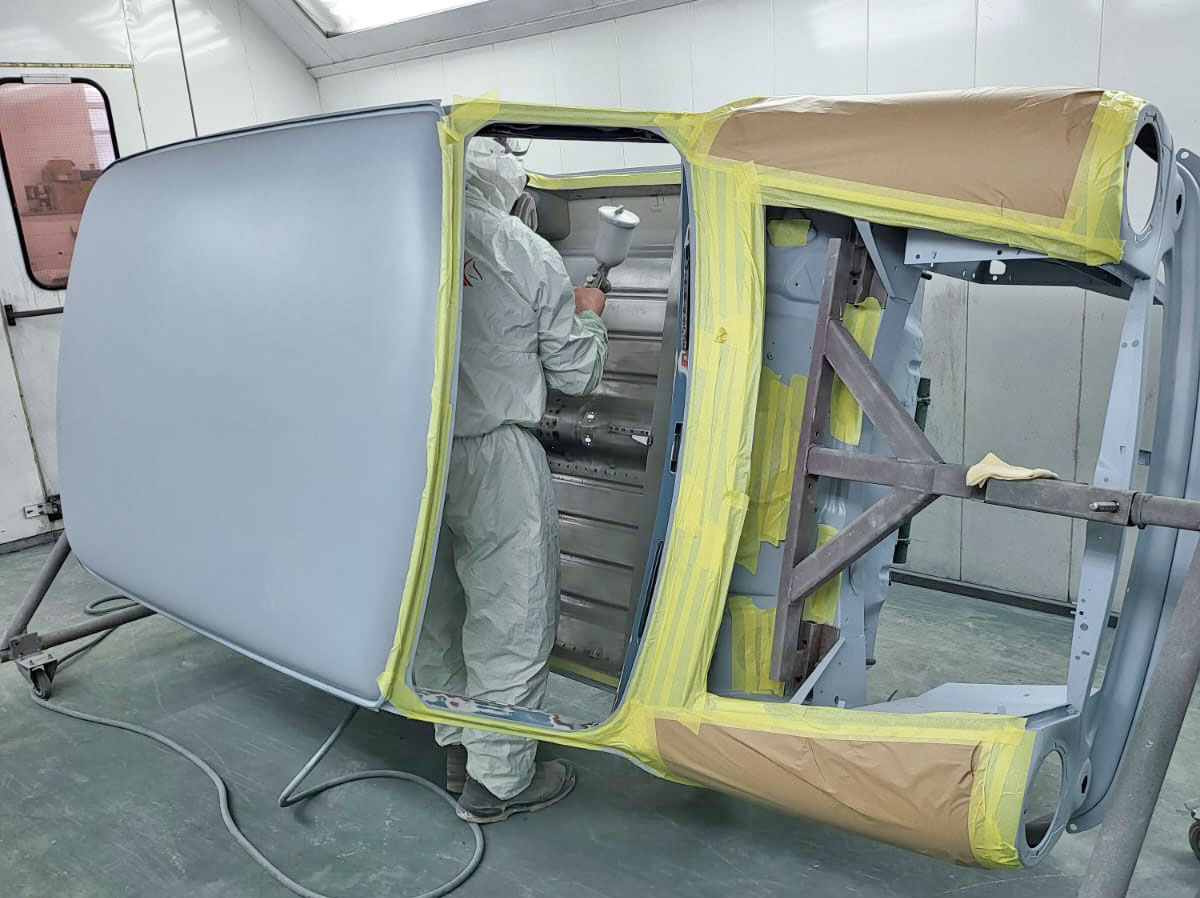
- Painting Efficiency: The rotisserie can even be moved into the spray booth, streamlining the painting process and ensuring optimal coverage.
This setup significantly reduces painting time while guaranteeing a flawless finish. However, depending on the frame used, later Mini shells might require a small cutout in the rear firewall, similar to the Mk1 or Mk2 shells.
Unearthing the Past: Common Mini Issue
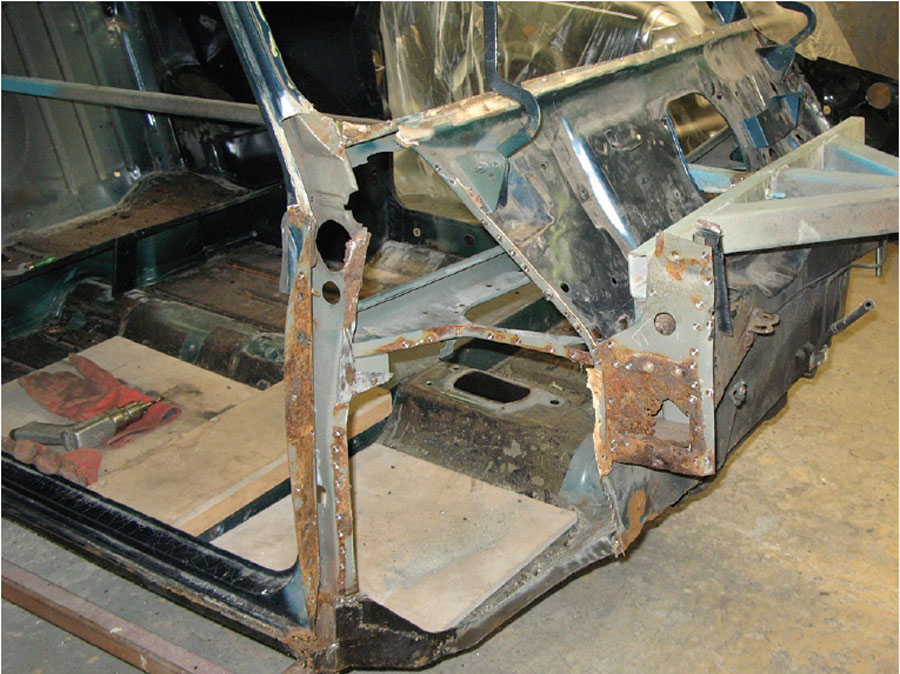
The true extent of corrosion and previous repairs often becomes evident only after removing panels. Our donor Mini's scuttle panel, for instance, was in dire need of replacement due to severe creasing and patchwork repairs. This process also revealed a corroded shut-off plate at the top of the arch and a rust hole behind the front top damper mount.
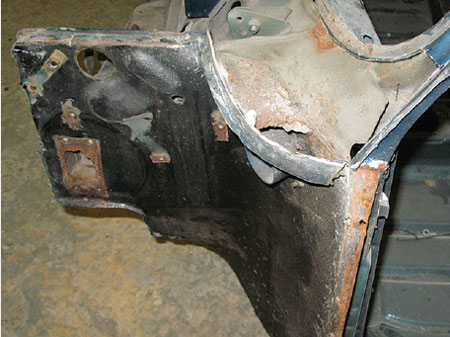
Inner Wing issues & solutions
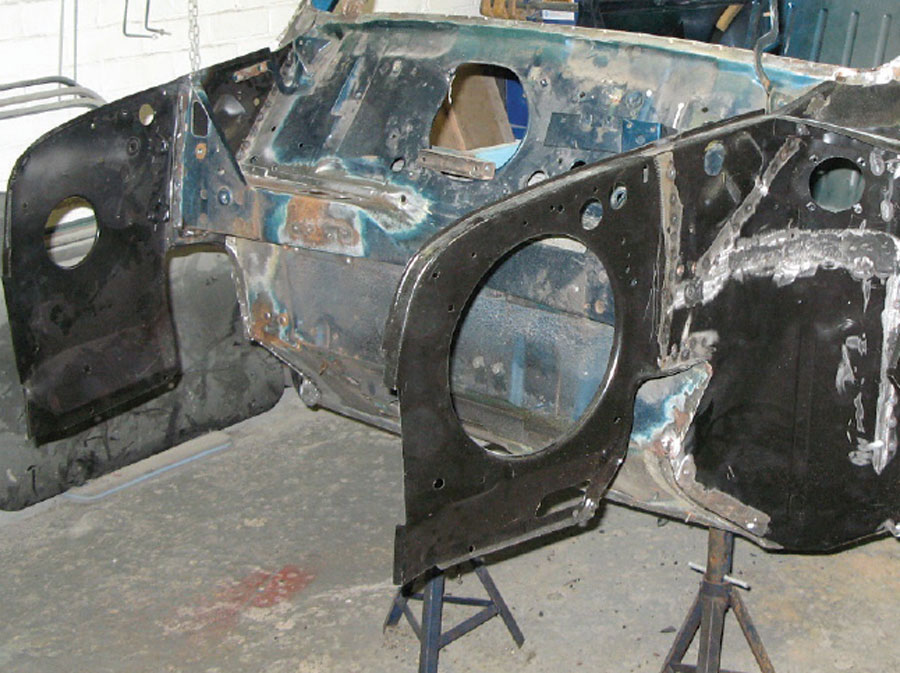
Heavily patched inner wings are a common issue with classic Minis. In such cases, replacing the entire panel can be more efficient than attempting extensive repairs. We used a specialized spot weld removal drill bit to save time and minimize distortion while removing the old welds.
For the new inner wings, spot welding was the preferred method whenever possible. Plug welds were used in areas where spot welding wasn't feasible. It's important to note that some pre-assembled inner wings with A-panels can cause fitting issues. New body panels from reputable suppliers like Heritage typically come with a black finish, which should not be mistaken for a reliable undercoat.
Preparing for the New Floor
With the floor section cut out, the connecting edge of the bulkhead needs thorough cleaning and rust treatment before the new floor is welded in place. This critical step ensures a strong and rust-free connection between the new and existing panels. Furthermore, the shell must remain on the rotisserie during this process to prevent any warping.
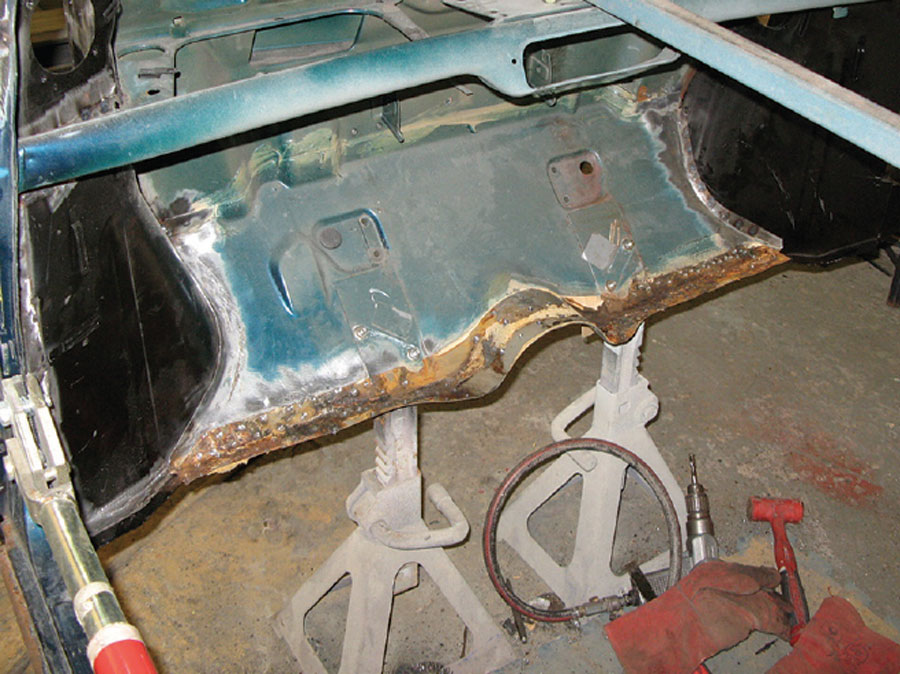
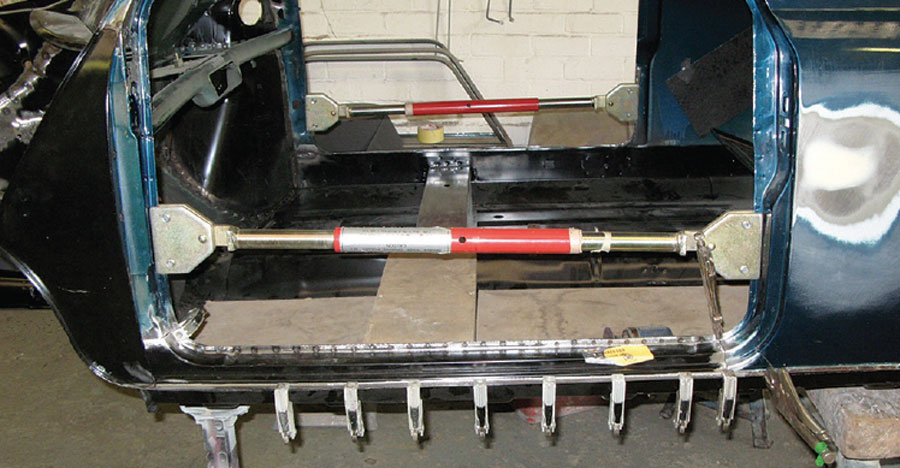
Door braces play a vital role in maintaining the shell's shape while the new floor is clamped in position. A crucial aspect is ensuring the rear subframe fits perfectly into the designated boot floor holes. The only modification needed on the British Motor Heritage floorpan in our case was elongating the holes for accessing the captive nuts in the heelboard, without compromising the integrity of the trunnion bolts.
Spot On Welding
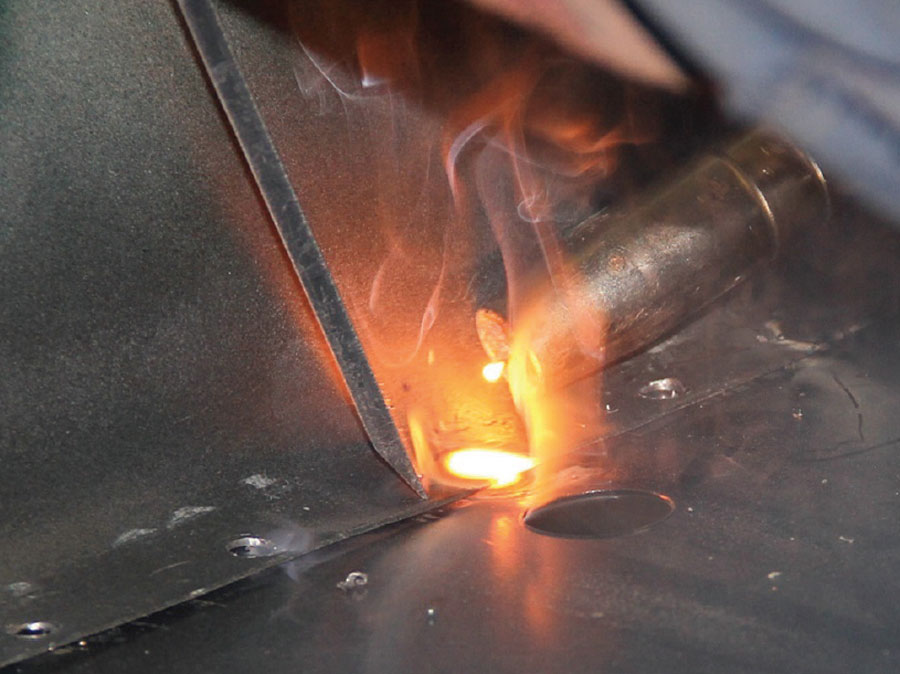
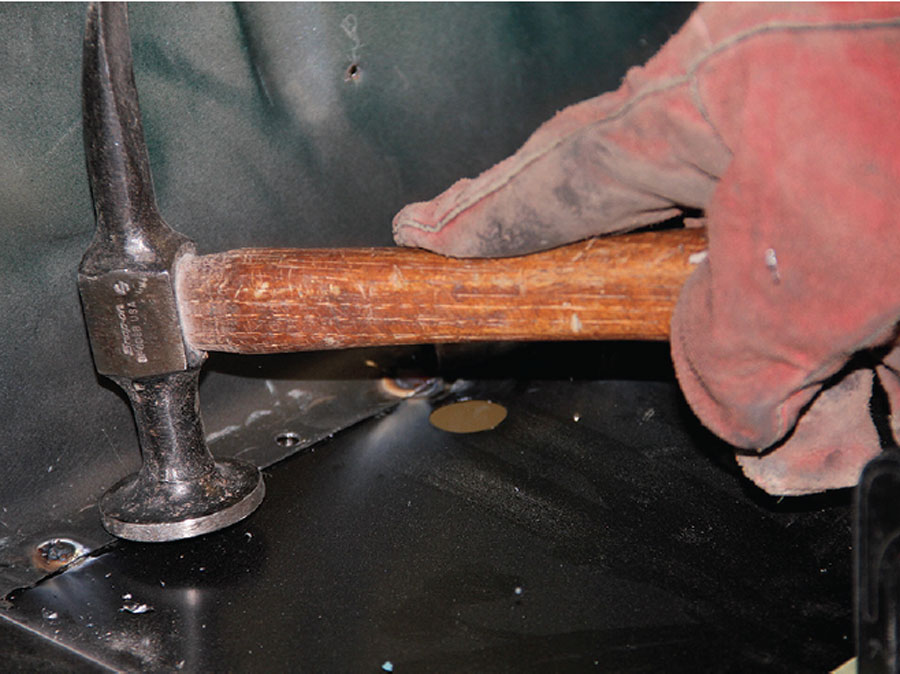
Mini Sport Ltd. prioritises replicating the original Longbridge factory methods by utilising spot welding for a strong and lasting bond between panels. The number of welds applied matches or even surpasses the original amount to comply with Thatcham vehicle repair regulations. For areas where spot welding isn't suitable, plug welds are implemented using a MIG welder.
Here's a breakdown of the plug welding process:
- Precise holes are drilled through the top panel.
- Joining surfaces are meticulously cleaned and coated with a zinc-rich weld-through primer.
- The panels are fused together using a MIG welder.
- The welded seams are then ground and smoothed out for a clean finish.
Precise Panel Replacement
A significant portion of the rear quarter panel required attention. Ensuring a perfect match between the new and existing panels with no gaps is paramount. To achieve this, the new panel is meticulously trimmed using a fine air saw to align flawlessly with the original contours. The panel is then tack-welded, ground, and allowed to cool completely before continuing.
Patience is key in this process!
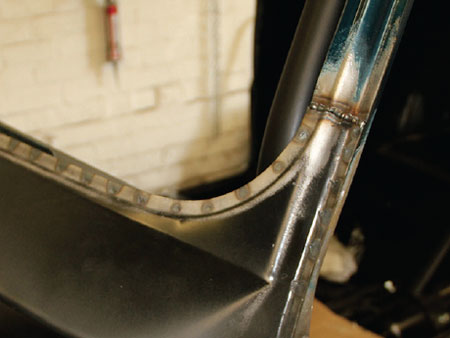
To prevent distortion, avoid making continuous spot welds initially. Instead, use a staggered approach with short welds, allowing them to cool completely before adding new welds in the middle and then halving the gap again. Once the entire joint is tacked, a low-power seam weld finalises the bond.
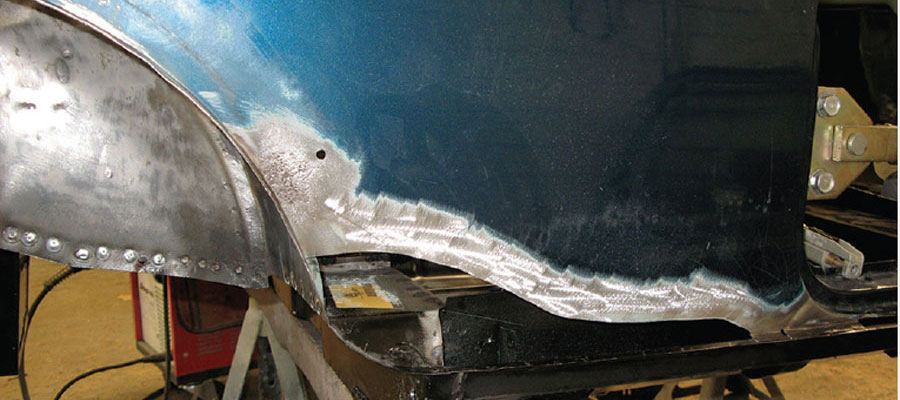
Using cool damp cloths to cool down the metal is counterproductive as it introduces moisture, which can negatively impact the weld strength. Heat buildup is the primary concern when joining two panels. Welding everything in one go can lead to panel distortion. Joddling (also known as jogging) the panel is another possible method.
Metal Thickness
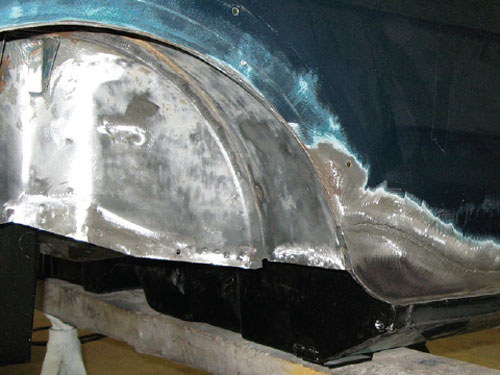
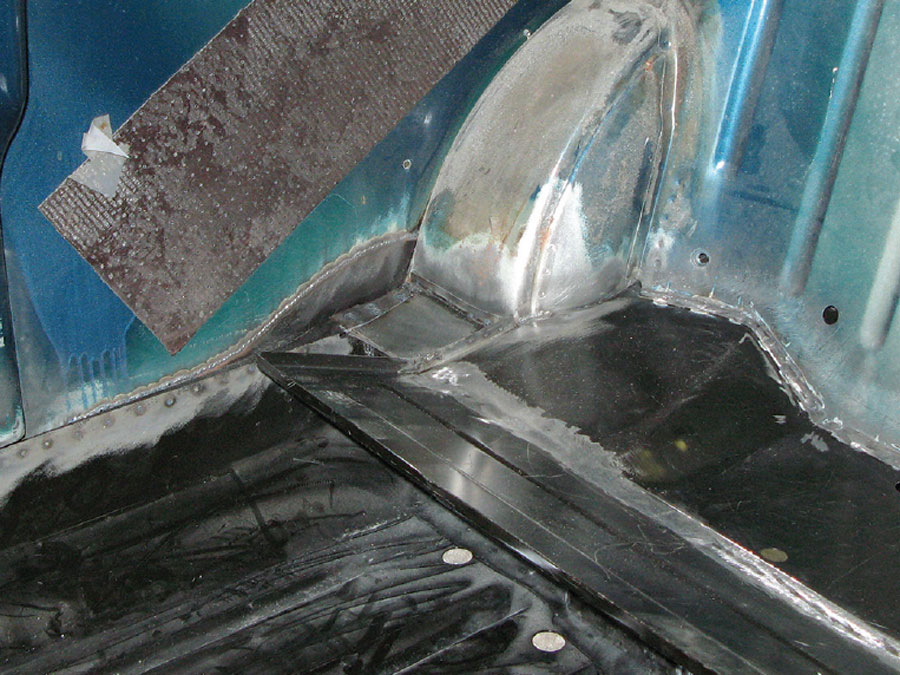
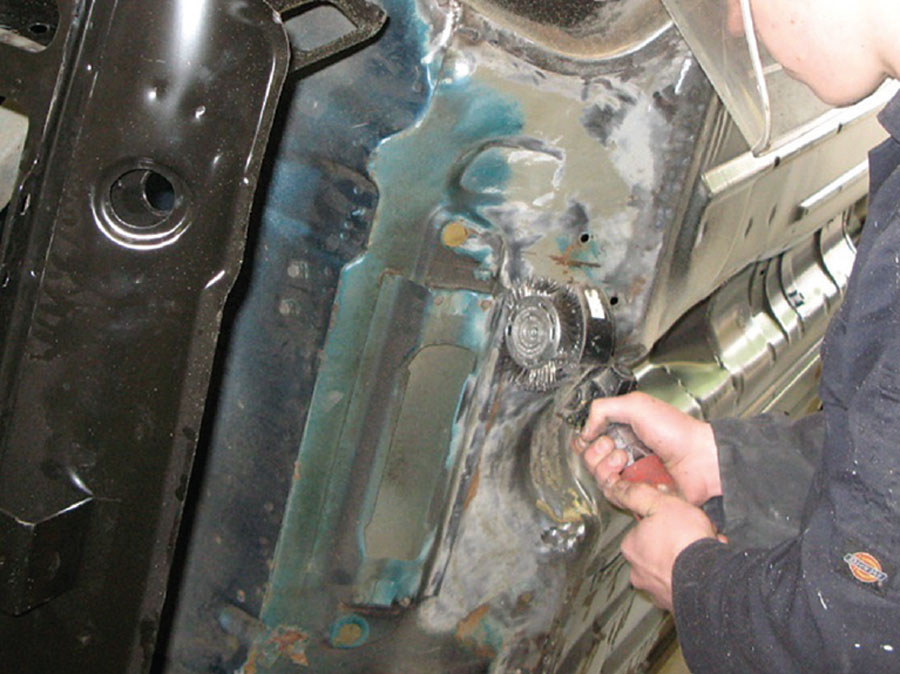
The appropriate weld amperage depends on the thickness of the metal being joined. Common Mini panels are typically made from 18- or 16-gauge steel, which translates to 1.27mm and 1.59mm thick respectively. After welding, the panel can be ground flat to create a smooth surface, as seen in the image.
Weld Penetration and Sound Deadening Removal
The quality of your welds can be checked by examining their penetration on the inside of the joint. A proper weld should completely fuse the two panels together. This area also reveals the original sound deadening material.
Removing sound deadening can be a challenge. Cold material might chip off easily, while more stubborn areas may require a heat gun to loosen its grip. It's crucial to remove all sound deadening before welding to eliminate fire hazards. While time-consuming, this process also helps reduce weight, a benefit for this particular car.
Scuttle Panel Replacement
Spot welding secures most of the scuttle panel along the window opening. The A-pillar utilizes a seam weld similar to the rear quarter panel. Remember, the wiring loom typically runs inside this pillar, so remove it before welding.
VIN Legalities
The chassis number, or VIN, may be stamped on the scuttle panel. It's important to note that replacing this panel doesn't authorize you to stamp the new one with the old VIN. Only the DVLA has that authority. While some people might weld the old number back in, be aware that this practice is illegal.
Front Bulkhead Alignment Tips
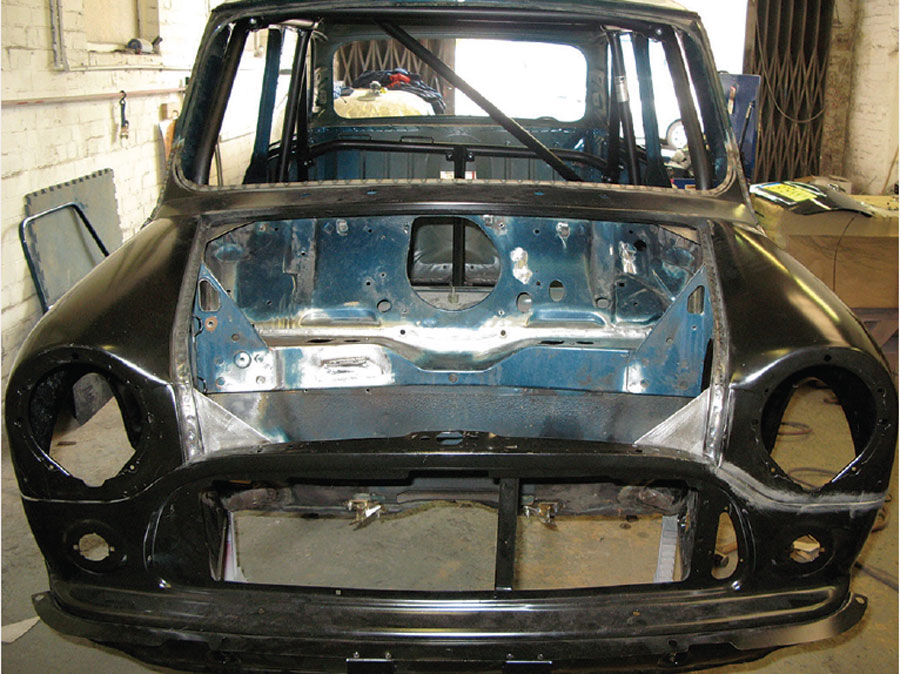
The bonnet hinge brackets were intentionally left on the front bulkhead to serve as a reference point during scuttle panel replacement. If you're replacing this panel, use the bonnet to ensure proper alignment. Removing the entire bulkhead hinge bracket eliminates this reference point. Simply detach the hinge arms themselves.
When aligning the front bodywork with the doors and A-panels already fitted, especially on Mk4 and later models with rubber-mounted subframes, these subframes need solid mounting using specialized steel brackets that replace the original rubberized ones. The front panel is then bolted to it, again using the bonnet as a reference, before lining up the wings.
Final Touches: Priming and Beyond
With the new boot floor securely welded in place, meticulously cleaning all connecting edges is essential in preparation for priming, seam sealing, and topcoats. Don't be fooled by the black paint on new steel panels – it's not a substitute for proper priming.
Thorough surface preparation is key to long-lasting repairs. This involves meticulously prepping all areas before priming, especially those hard-to-reach spots that might seem tedious now but will pay off in the future. Remember, attention to detail is crucial!
New Floor Panels and Maintaining Shell Shape
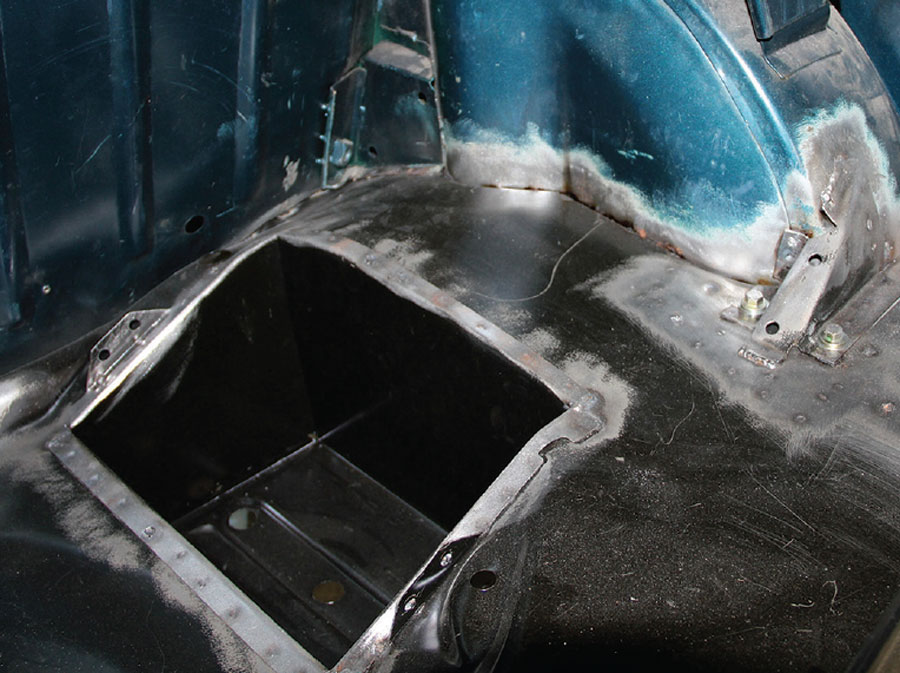
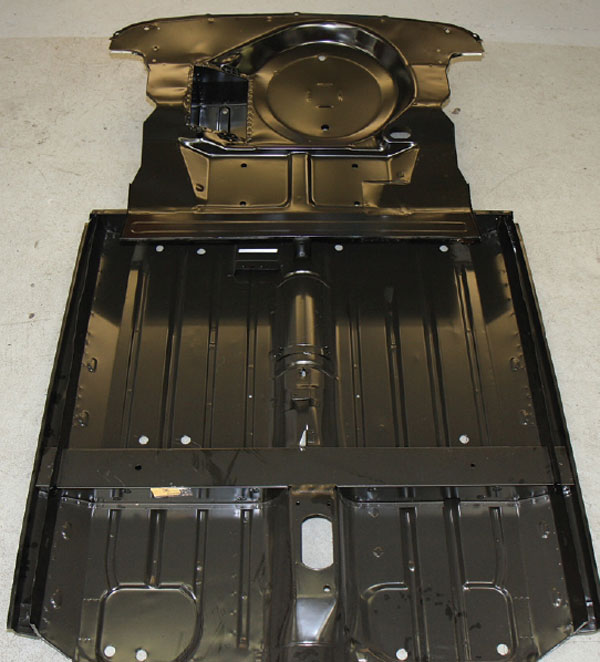
The images showcase the Heritage floor and boot panels used in this project. Given the extensive patching required, a complete replacement made perfect sense. However, it's crucial to take steps to maintain the shell's shape before removing old panels. This can involve using brace bars or even welding in temporary strengthening bars if necessary. Unfortunately, new floor panels are not currently available for earlier Minis like the Mk1 and Mk2.
We hope this blog post provided a comprehensive look at the body repairs involved in a classic Mini rebuild. Stay tuned for Part 3, where we'll delve into the exciting world of painting and final assembly!
Want to read Keeping Your Mini Alive 6th Edition Magazine? Download the PDF here
Mini Sport: Your One-Stop Mini Revival Workshop
We're your trusted resource for all things Mini, ready to turn back the clock or unleash the hidden beast within your beloved car:
-
-
Restoration: Dream of a complete overhaul? We offer a meticulous restoration & repairs service, meticulously bringing your classic Mini back to its former glory, from a nut-and-bolt rebuild to a refresh of the interior.
-
Performance Upgrades: Craving more power and sharper handling? We have a treasure trove of performance parts to unlock your Mini's potential, whether you're a weekend thrill-seeker or a serious track warrior.
-
Motorsport Preparation: Ready to take the checkered flag? Our team's knowledge and experience will transform your Mini into a competition-dominating force.
-
EV Conversion: Envisioning a greener future for your Mini? We can guide you through the exciting world of electric vehicle conversions, ensuring a sustainable and exhilarating driving experience.
-
Fully Bespoke Creations: Have a vision for your Mini that breaks the mold? Our team is here to collaborate with you on designing and building a one-of-a-kind masterpiece.
-
No matter your vision, our team of passionate Mini specialists is here to turn it into reality. With our extensive knowledge and huge range of Mini parts and accessories, we can help you build the perfect Mini for your needs.
Contact us today and let's discuss how we can transform your Mini into a legend

