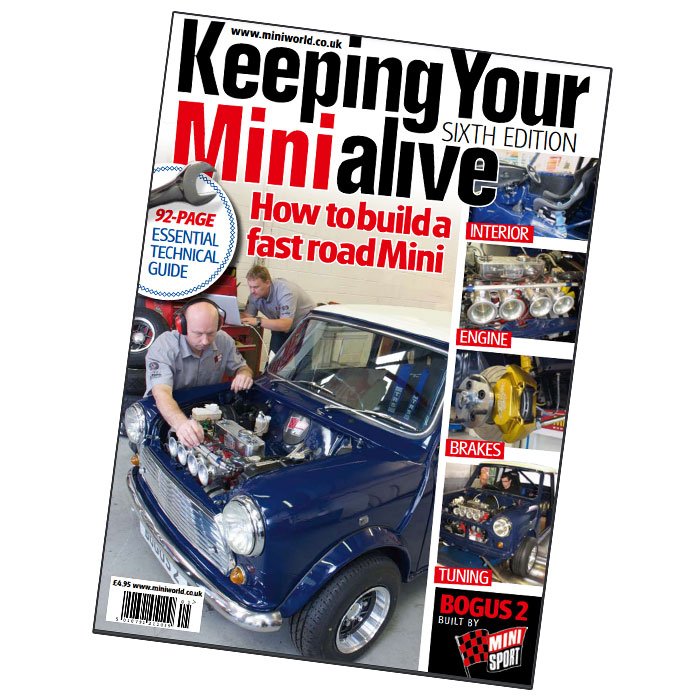
Welcome to the latest instalment of our DIY Mini Restoration series! In this guide, we revisit the Bogus 2 Mini build with a focus on fitting the clutch and flywheel. This crucial step ensures your Mini performs at its best. For any technical advice or assistance, feel free to contact the Mini Sport team. Let's get started!
Clutch and Flywheel Fitting

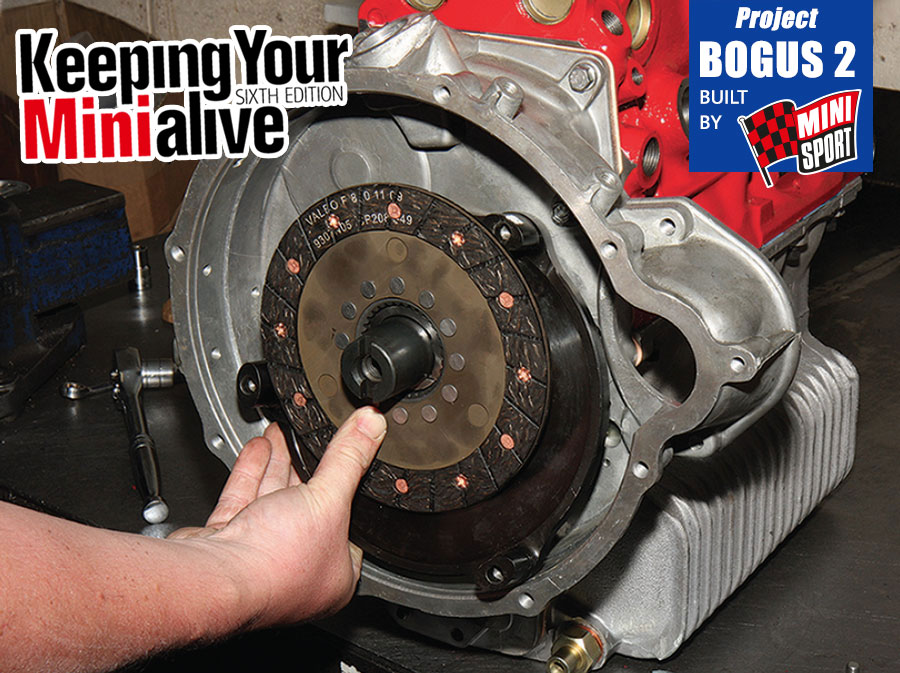
Choosing the Right Flywheel
The Lightest Flywheel Isn’t Always the Best
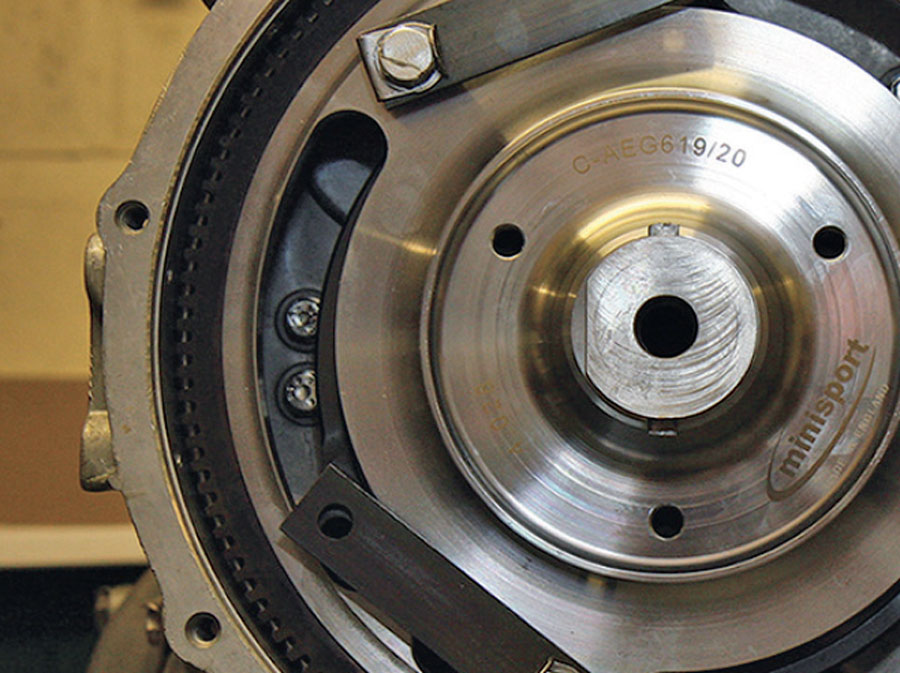
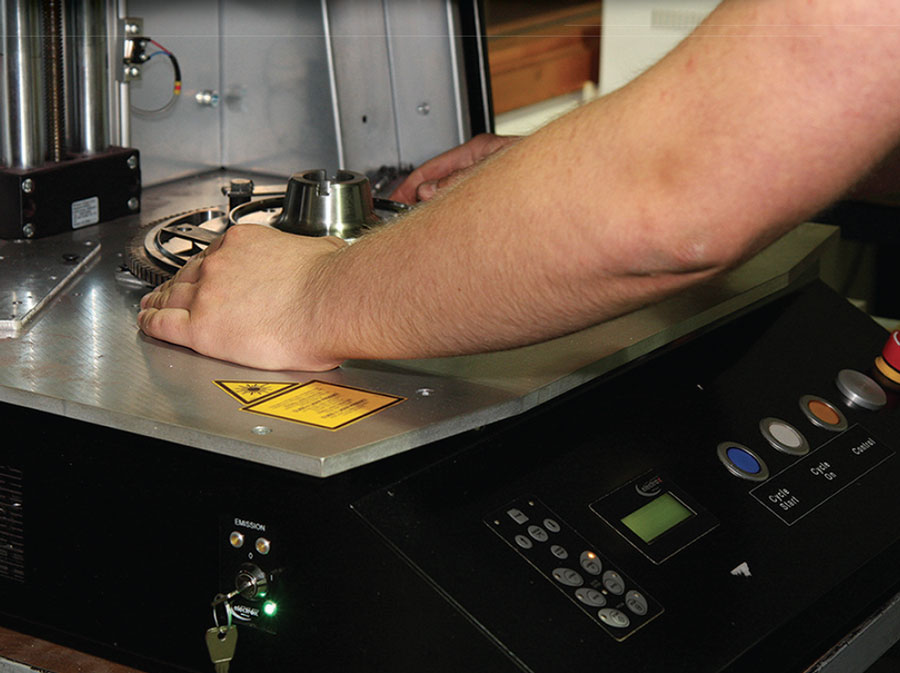
Mini Sport not only makes high-quality flywheels but also laser engraves them—though the engraving doesn't increase speed, it does add a unique touch. We offer various ultra-lightweight flywheels with both inertia and pre-engaged ring gears. Your choice should be guided by the car’s intended use and starter motor type. Shop our range of Ultra Lightened Flywheels >
Heavier Flywheels: The Pros
- Improved Driveability: Heavier flywheels can provide useful low-rpm inertia, helping with climbing gradients and starting smoothly.
- Reduced Stalling: Light flywheels can spin up quickly but require more revs to avoid stalling and may compromise idle stability, especially with high-performance cams and rockers.
Fitting the Clutch and Flywheel
Step-by-Step Guide
Flywheel Installation
Mini Sport Flywheels: We offer several options, including those with laser engraving. While this feature is aesthetic, it doesn't affect performance. Click to discover the range >
Selection Tip: Choose a flywheel based on your engine’s performance needs and the type of starter motor you have. A heavier flywheel can improve driveability by providing additional low-rpm inertia.
Clutch Friction Plate
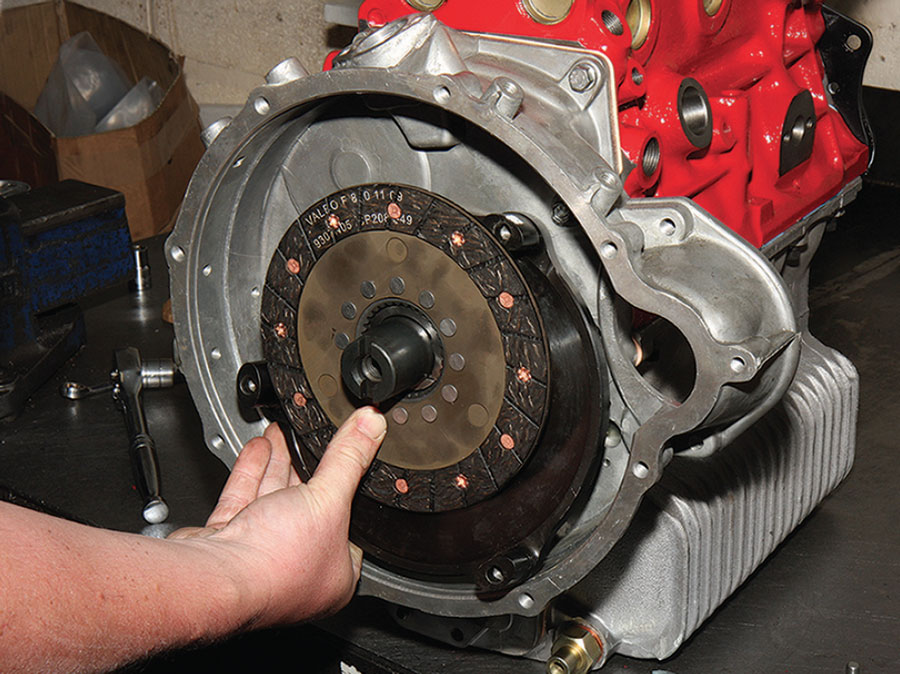
Choice of Plate: For the Bogus 2 Mini, we’re fitting an AP Organic fast road clutch plate paired with an AP Grey diaphragm spring. Ensure the friction plate matches the engine’s output and usage. Shop Fast Road Clutch Plate >
Securing the Flywheel
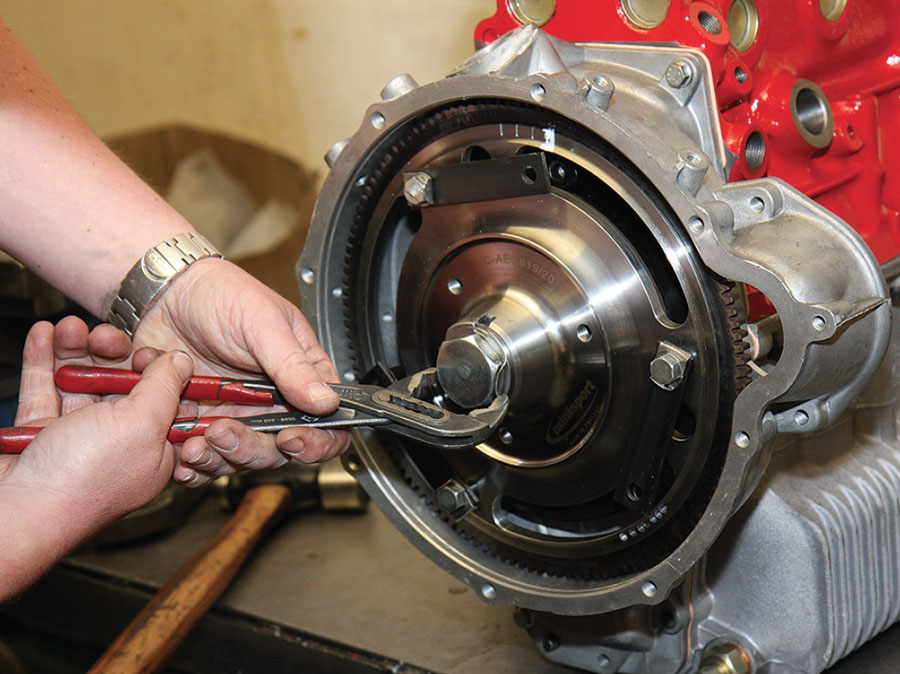
Loctite and Lock-Tab Washer: Secure the crank bolt with Loctite and use a lock-tab washer to prevent the flywheel from loosening. For a new crank, clean surfaces before fitting—no need for matching. For older, worn cranks, use a small dab of valve grinding paste to create a clean join, but remove all paste before final assembly. Shop Lock-Tab Washers >
Clutch Plunger and Release Bearing
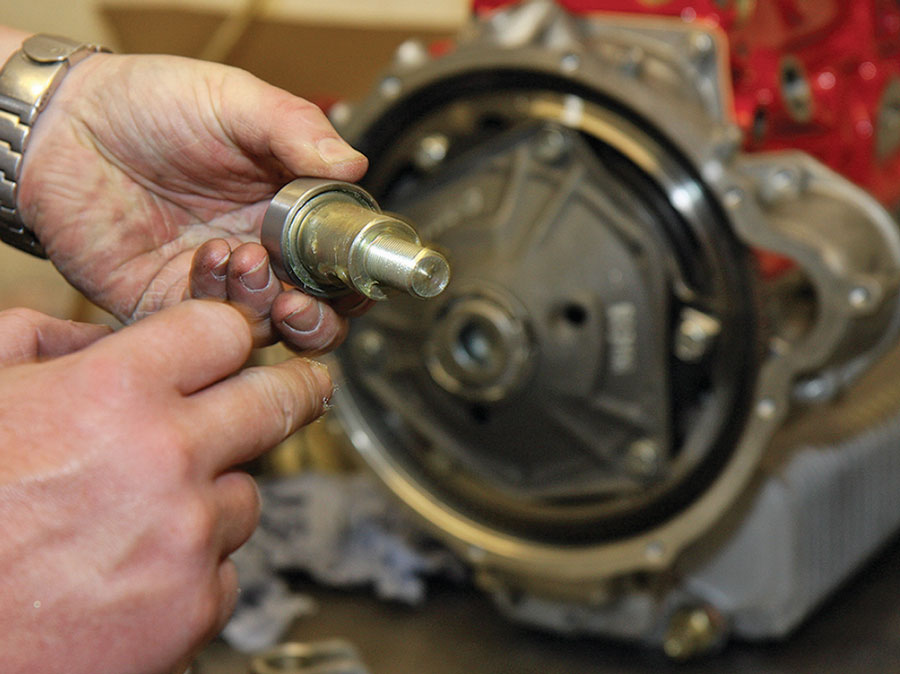
New Components: Install a new clutch plunger and release bearing. Grease the plunger with LM2 Multi-Purpose Grease. Inspect the housing for excessive wear; any slack can affect clutch operation. Always renew the bearing to ensure smooth performance. Discover the entire range of classic Mini Clutch Parts >
Clutch Arm Clevis Pin
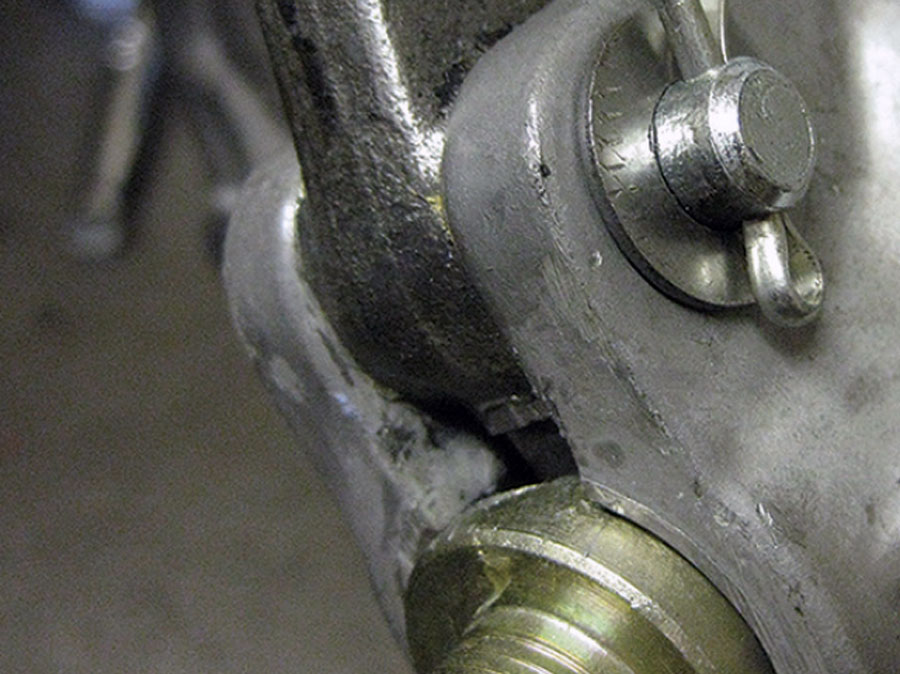
Installation Tip: Fit the clutch arm clevis pin pointing towards the front of the car. This orientation makes removal easier if needed. Use a short split pin to avoid contact with other surfaces.
Practical Tips:
- Inertia Considerations: While lightweight flywheels reduce rotational mass, they can affect engine stalling and idle stability. A heavier flywheel might offer better driveability and stability at low RPMs.
- Regular Inspection: Frequently check the flywheel and clutch components for signs of wear, especially if you use your Mini for high-performance driving.
- Quality Assurance: Always use high-quality, compatible components to ensure optimal performance and reliability. You can shop our entire range of classic Mini Clutch Parts here >
Need Technical Help?
If you have questions or need assistance with your Mini restoration project, the Mini Sport team is here to help.
Contact us for expert advice and high-quality products tailored to your needs.
Explore Our Range of Products
Browse our selection of flywheels, clutches, and other essential components to find everything you need for your Mini build. Stay tuned for more detailed guides in our DIY Mini Restoration series!
Want to read Keeping Your Mini Alive 6th Edition Magazine? Download the PDF here
Don't miss out on the rest of the Bogus 2 Series!
This blog series is your go to for a guide to taking your Mini from a bare shell to a road-worthy classic. Check out the rest of the series for tips and advice from our Mini Experts for every stage of your Mini restoration!
This guide is meant to provide general guidance and a step-by-step approach to build your Mini's Gearbox. It is always recommended to contact a trusted professional if you are unsure about any part of the process or lack the necessary tools and experience.

