When it comes to the performance of your car, brakes play a critical role. They not only enable you to stop or slow down your vehicle but also provide you with the ability to modulate your speed effectively. At Mini Sport Ltd, we understand the significance of reliable braking systems, which is why we offer comprehensive solutions for all your Mini's braking needs. In this article, we will explore the importance of brake servicing for your Mini and how you can service your Mini at home.
Enhanced Braking Performance:
By servicing your Mini's brakes regularly, you ensure that they operate at their best. Upgrading to disc brakes can significantly improve braking performance, especially in wet weather conditions. Disc brakes dissipate heat better and are less prone to brake fade, allowing you to maintain control and stop quickly when needed. At Mini Sport Ltd, we provide complete conversion kits that make upgrading to disc brakes easier, ensuring optimal performance and safety.
Safety First:
Your Mini's brakes are your first line of defence against potential hazards and accidents. A properly maintained braking system allows you to react swiftly to unexpected situations, avoid collisions, and protect yourself, your passengers, and 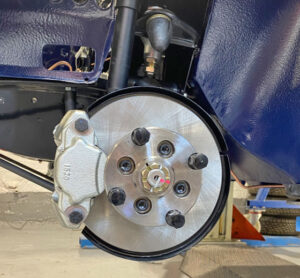 other road users. Neglecting brake servicing increases the risk of brake failure, compromising your safety and the safety of those around you. Regular brake inspections and maintenance can identify potential issues early on and prevent costly repairs or accidents.
Prevention of Brake Wear:
Brakes endure constant wear and tear due to their frequent usage. Each time you press the brake pedal, friction is generated between the brake pads and rotors, gradually wearing down the pad material. Regular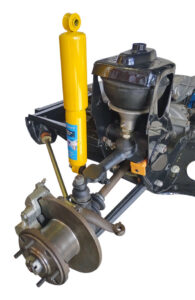 brake servicing helps monitor the condition of your brake pads and replace them before they become too thin, ensuring optimal braking performance and preventing damage to the rotors. By addressing brake wear promptly, you avoid more extensive and costly repairs in the future.
Detection of Brake System Issues:
Brake servicing provides an opportunity to identify and address any underlying issues with your Mini's braking system. Low brake fluid levels can impair brake performance, so it's crucial to check the fluid regularly and top it up if needed. Additionally, worn-out brake pads or damaged rotors can lead to squealing or scraping sounds, abnormal vibrations, or a spongy brake pedal. Regular brake inspections enable early detection of these warning signs, allowing for timely repairs and preventing potential brake failure.
Peace of Mind:
Knowing that your Mini's brakes are in top condition provides peace of mind while driving. A well-maintained braking system gives you confidence in your ability to control your vehicle and respond effectively to any road situation. Whether you're navigating busy city streets or enjoying a thrilling countryside drive, the assurance of reliable brakes allows you to focus on the road ahead without unnecessary worry or stress.
Maintaining and servicing your Mini's brakes is not only essential for optimal performance but also a critical factor in ensuring your safety and the safety of others on the road. At Mini Sport, we offer a comprehensive range of brake solutions, from disc brake conversions to regular inspections and maintenance. By prioritising brake servicing and addressing any issues promptly, you can enjoy peace of mind, enhanced braking performance, and a safer driving experience in your beloved Mini. Remember, your safety is our top priority.
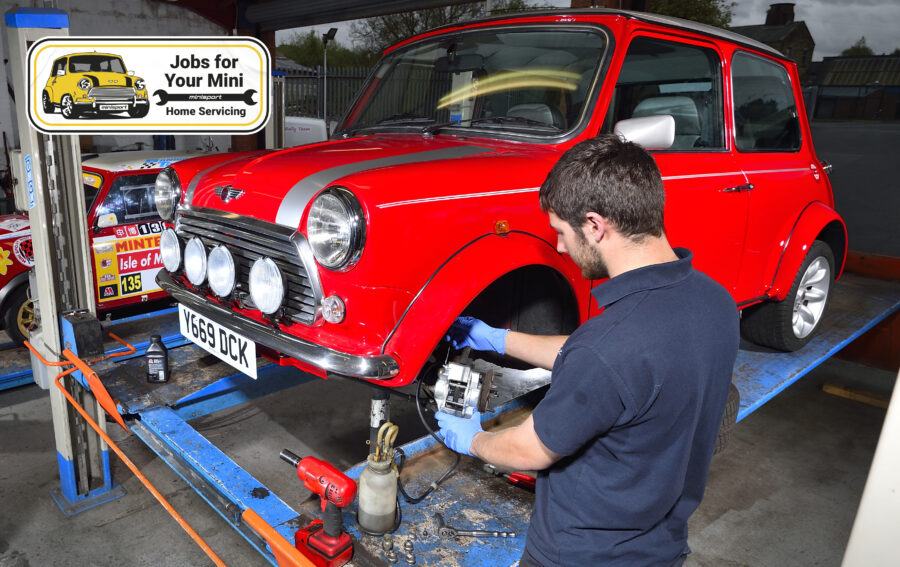
Classic Mini Brake Servicing: A How-To Guide
Delve into a crucial aspect of your beloved Mini: the brakes! Maintaining the stopping power of your pocket rocket is vital for ensuring your safety on the road.
Classic Minis come equipped with two distinct brake systems: Drum Brakes all around or Disc Brakes on the front.
Before you begin, it's essential to have the following items within reach:
- Dust mask
- Safety specs
- Gloves
- Jack
- Axle stand
- Wheel brace
- Torque wrench
- Brake adjusting spanner
- Hammer
- Screwdriver
- Pliers
- Assorted AF spanners and sockets
- Brake cleaner
Recommended Parts:
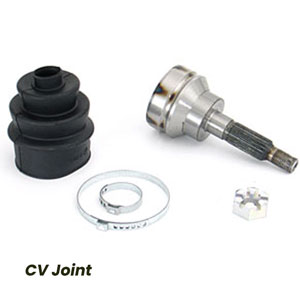
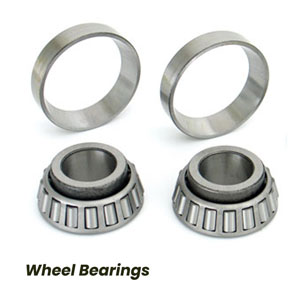
Whilst servicing these important parts, we would recommend that the following parts are replaced if they are showing signs of wear. These can all be purchased on our website:
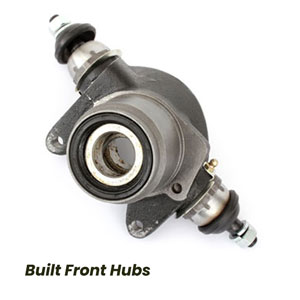
We also offer Fully Assembled Mini Brake Kits that have been professionally built by Mini Sport Technicians using superior equipment components, that have been developed for easy fitment in any Classic Mini.
Torque wrench data:
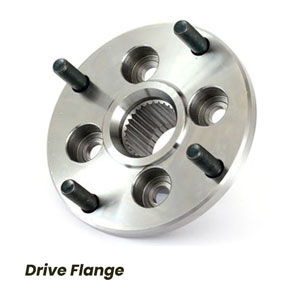
Drive flange bolts: 50Lb/Ft
Drive flange screws: Hand tight
Caliper bolts: 38Lb/Ft
Front hub nut (Disc Brakes): 180Lb/Ft (single split pin hole), 155Lb/Ft (twin split pin hole)
If your Mini is fitted with Disc Brakes on the front (see further down for the rear brakes):
- Safety first! Chock the rear wheels and engage the handbrake to prevent any unexpected movement.
- Loosen the front wheel nuts to prepare for wheel removal.
- Safely jack up the Mini using the subframe as a support point, ensuring stability with sturdy axle stands.
- With the wheels off, carefully inspect the discs for any grooves or signs of corrosion. If necessary, replace them to maintain optimal braking performance.
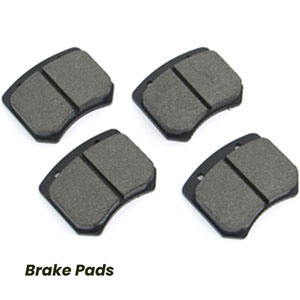
- Thoroughly examine the brake pads for any uneven wear or excessive deterioration. Replace them as needed to ensure consistent and safe braking.
- Before proceeding, remove the master cylinder cap and cover the reservoir with a cloth to catch any potential brake fluid overflow.
- Push the caliper pistons back to assess their smooth operation. If you encounter corrosion or any signs of seizing, it's essential to replace the pistons.
- Put the wheels back in place and securely fasten the nuts.
- Lower the Mini onto its wheels, and don't forget to torque up the wheel nuts for proper tightening.
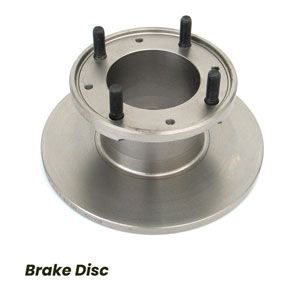
These are the steps to follow for replacing the Brake Disc:
- Begin by removing the hub nut split pin and gently loosening the front hub nut.
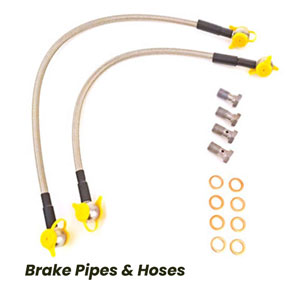
- Carefully remove the brake pads and the caliper. Make sure to secure the caliper to prevent any strain on the flexy pipe.
- Next, detach the disc/drive flange assembly and separate the two parts.
- It's time to replace the disc! Ensure you torque the securing bolt/screws properly for a secure fit.
- Reassemble the assembly, bringing the parts back together.
- Refit the caliper and re-torque the securing bolts to maintain stability.
- Install new pads and pins to ensure optimal performance.
- Secure the hub nut to the correct torque and don't forget to fit a new split pin for added safety.
How to replace Drum Brakes:
- Begin by slackening off the handbrake cable to provide clearance.
- Ensure safety by chocking the front wheels and/or engaging reverse gear.
- Loosen the wheel nuts on the rear wheels.
- Lift the rear of the car using a jack under the subframe (avoid the floor panel) and secure it with reliable axle stands.
- Slacken the brake adjusting screw for easier removal.
- Give the drum a gentle tap to assist in releasing the brake shoes and centralise them.
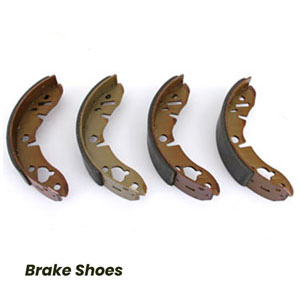
- Release the brake drum securing screw and carefully remove the drum. Inspect the brake shoes for wear and overall condition.
- If the shoes are excessively worn, replace them to maintain optimal braking performance.
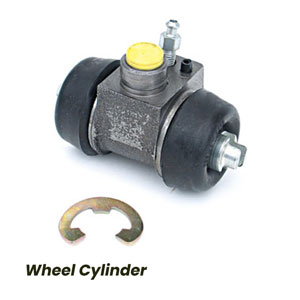
- Inspect the wheel cylinders for proper operation and any signs of leakage. If leaking or seized, replace the wheel cylinder.

- Check the handbrake lever for correct operation during the process.
- Thoroughly clean the back plate assemblies and inside the drums using suitable brake cleaner.
- Refit the drum and secure it with the securing screw. Adjust the brake shoes until the drum cannot be spun freely (for front brakes, adjust in the direction of rotation).
- Tap the drum gently with a hammer to ensure the brake shoes are centralised.
- Check the drum again for any signs of loosening. Tighten the adjusting screw and then back it off slightly, allowing for movement with a slight amount of resistance.
- Refit the wheels and tighten the wheel nuts securely.
- Lower the car back onto its wheels and torque up the wheel nuts on each side.
- Once both rear wheels have been serviced, adjust the handbrake to the desired setting.
- Continue this process for the front wheels, excluding the handbrake adjustment.
For Minis with front drum brakes follow the above instructions, but be aware the front has two wheel cylinder per side and no handbrake cable to release.
Some of the components mentioned above are dependent on the year, model, or even the size of your brake system. Don't worry if you're unsure about which parts you need, though. Our dedicated team of friendly and knowledgeable experts are just a phone call away.
Our team is available 9am - 5pm Monday to Friday to assist you with any questions you may have - or assistance you may need, please don't hesitate to get in touch!
The above-mentioned parts are our top recommendations for checking and replacing during maintenance. Alternatively, explore our comprehensive selection of Brake Parts.